[Xero Users] Adding BOC as a Supplier
To add BOC as a supplier in Xero, please follow the steps below.
Step 1 Click the plus sign at the top-right corner of the website and the select "Contact" from the drop-down menu.
Step 2 Fill up the form to provide the Contact and Financial details for BOC. Click "Save" button to confirm you changes.
Step 3 Once the new contact has been added, you need to create a "test" Bill
in order to automatically categorise BOC as a Supplier.
There are several ways to do this:Step 3a Click the plus sign and select Bill from the menu.
Step 3b Or, click on the "Business" menu and select "Bills to Pay".
Step 4 You will be redirected to the "Purchase Overview" page. Click the "New Bill" button.
Step 5 Add BOC to the "From" field and click "Save."
BOC will be automatically categorised as a Supplier once the Bill has been created.
Step 6 Log in to your Link4 account (click on the login button on the top right side) to sync your newly created contact.
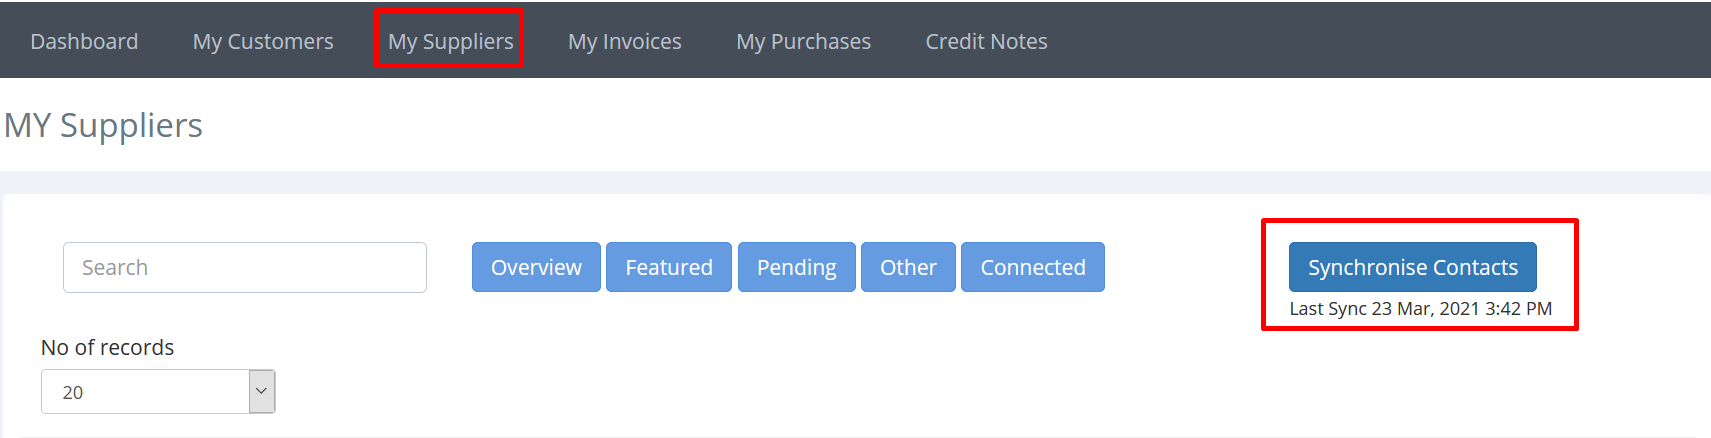
Step 7 Go to the "My Suppliers" menu and click on the "Synchronize Contacts" button to update your list in Link4.


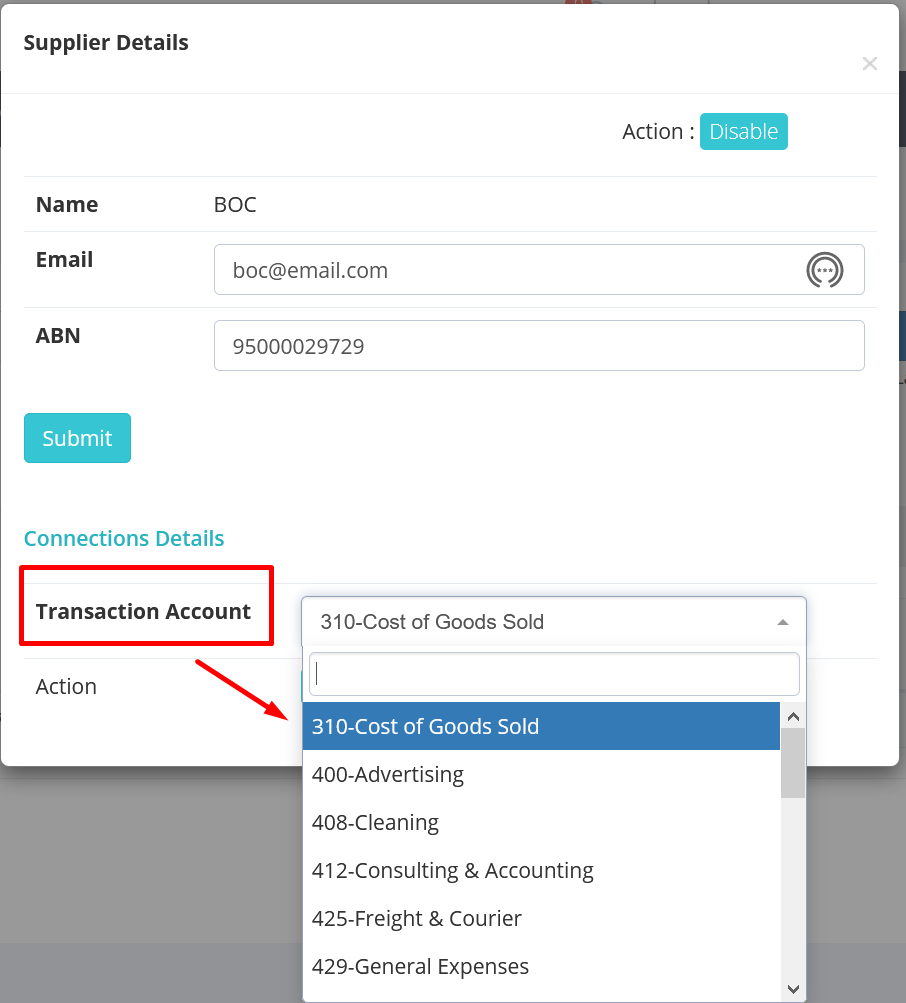
Step 10 Pull up the "Supplier Details" by clicking on the BOC entry and select a default account from the "Transaction Account" drop-down menu.
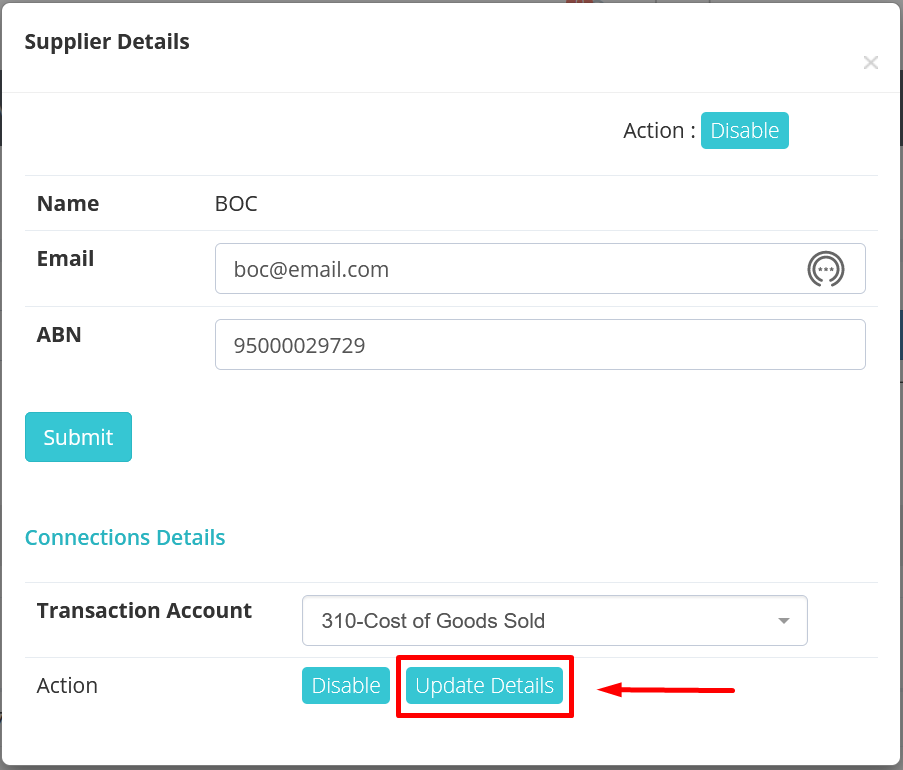
Step 11 Click the "Update Details" button to confirm your changes.
BOC will appear in the "Featured Supplier" section.
Step 8 Connect with BOC in Link4 and receive e-Invoices by clicking on the "Enable" button.
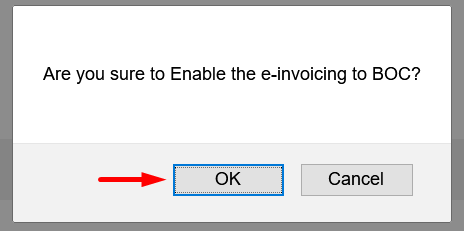
Step 9 A pop-up message will appear asking you to confirm your action. Click "OK."
Step 10 Pull up the "Supplier Details" by clicking on the BOC entry and select a default account from the "Transaction Account" drop-down menu.
Step 11 Click the "Update Details" button to confirm your changes.
You are now connected to BOC and you will receive their invoices directly into your Xero account.
If you need further assistance, please send a message to our Customer Success Team at support@link4.com.au or through the live chat box at the bottom right-hand corner of your screen.